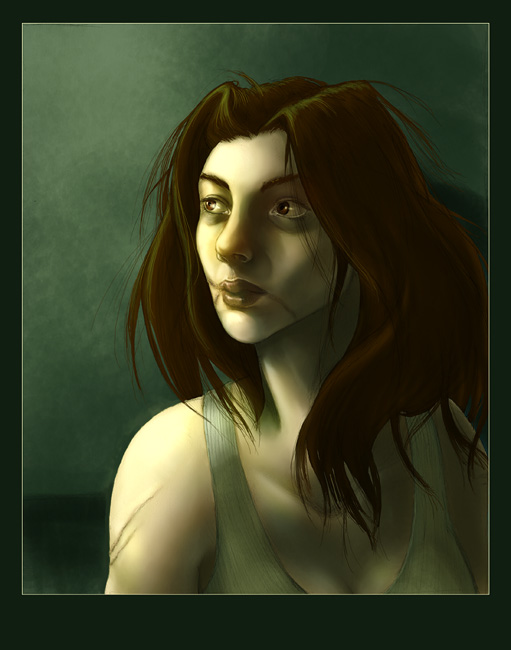
 Click to see the full size finished picture | This tutorial guides you through the steps of taking a finished pencil or inked drawing to a full color CG painting. I use Photoshop 5.5 for the entire thing and have no intention of switching to a different version any time soon, so for those of you with earlier or later versions, your shortcuts and methods might need to be adapted. You'll need to be at least basically familiar with Photoshop's layout and tools, but for the most part anything beyond beginner level is explained. Section One: Preparing the Drawing - From scanning your drawing to cleaning it up and preparing the linework for coloring. Section Two: Base Color and Initial Shading - Laying down solid areas of color and the first layers of shadows and highlights. Section Three: Advanced Shading and Highlighting - Taking the painting from humble beginnings to a more realistic appearance - including adding color to your shadows and bringing life to a character. Section Four: Detailing and Final Variations - Eyes, lips, hair, and a completely new take on the painting. I'd like to thank Jess of deadplayground.com for allowing me to use her "Janet" character for this tutorial.
|